July 11th, 2024 | by Keaton Smith
All of us at Bivo care a lot about design and performance. We want our bottles to look sleek, feel great in your hands, and perform really well.
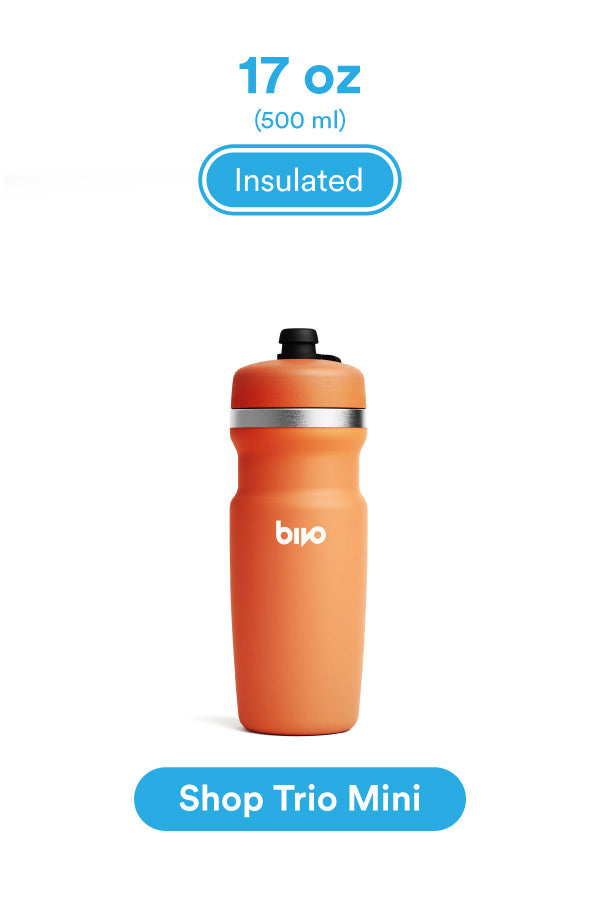
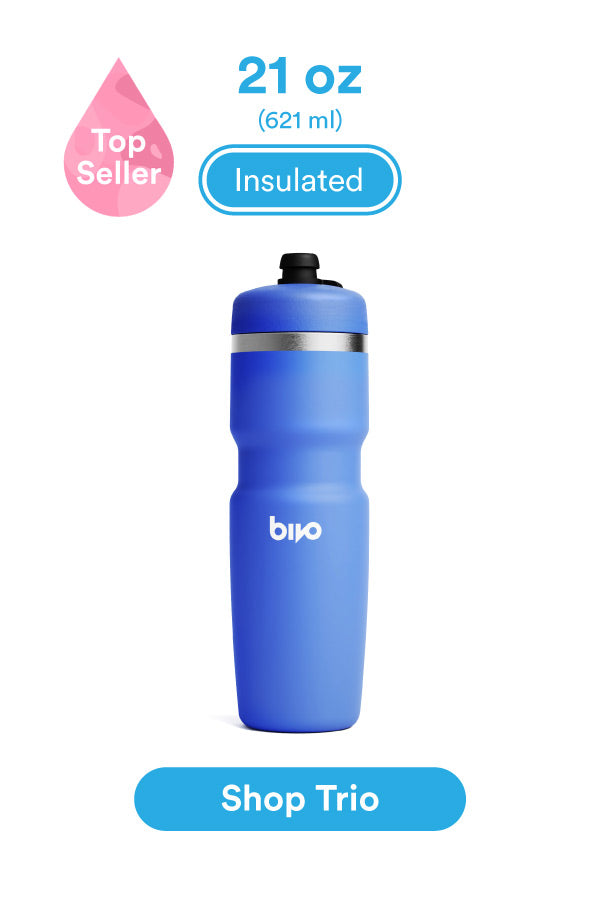
One element of our insulated water bottles (Bivo Trio and Bivo Trio Mini) that is essential to performance, but doesn’t impact the look of the bottles, is the o-ring.
All of us at Bivo care a lot about design and performance. We want our bottles to look sleek, feel great in your hands, and perform really well.
One element of our insulated water bottles (Bivo Trio and Bivo Trio Mini) that is essential to performance, but doesn’t impact the look of the bottles, is the o-ring.


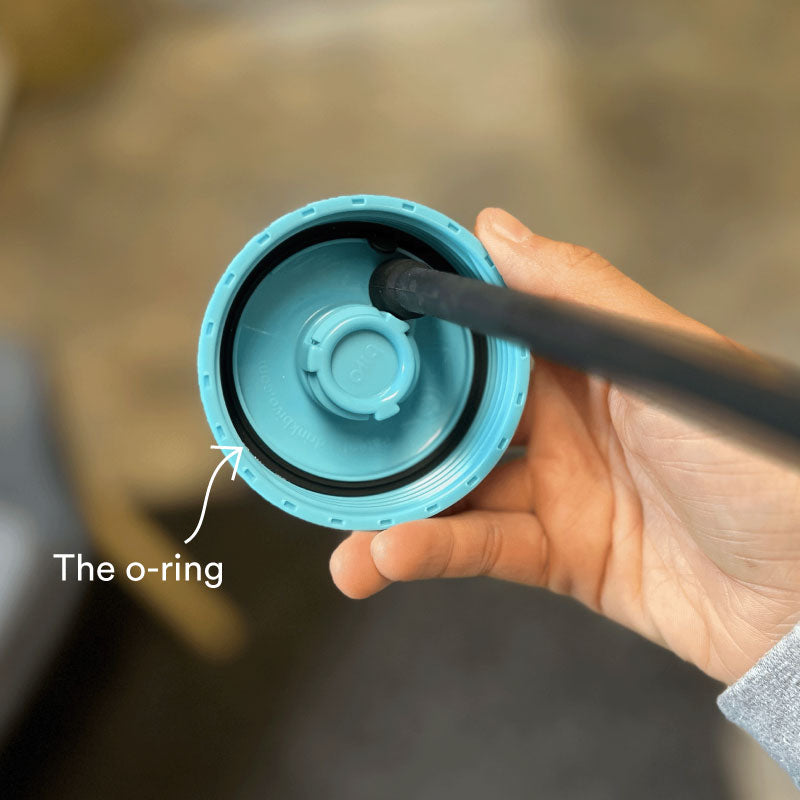
On insulated bottles - the Bivo Trio and Trio Mini - the o-ring is tucked under the top of the lid, nestled in snugly above the threading. Hidden, but playing an essential role.
The o-ring, or sealing ring, is a silicone circle, responsible for sealing the bottle tight and preventing leaking.
As you twist the lid on tight, the sealing ring is compressed, squeezing out any possible escape of water from the bottle. When properly in place, the sealing ring does its job very well– we made sure of that with a rigorous design and testing process (we shook lots of bottles really hard!).
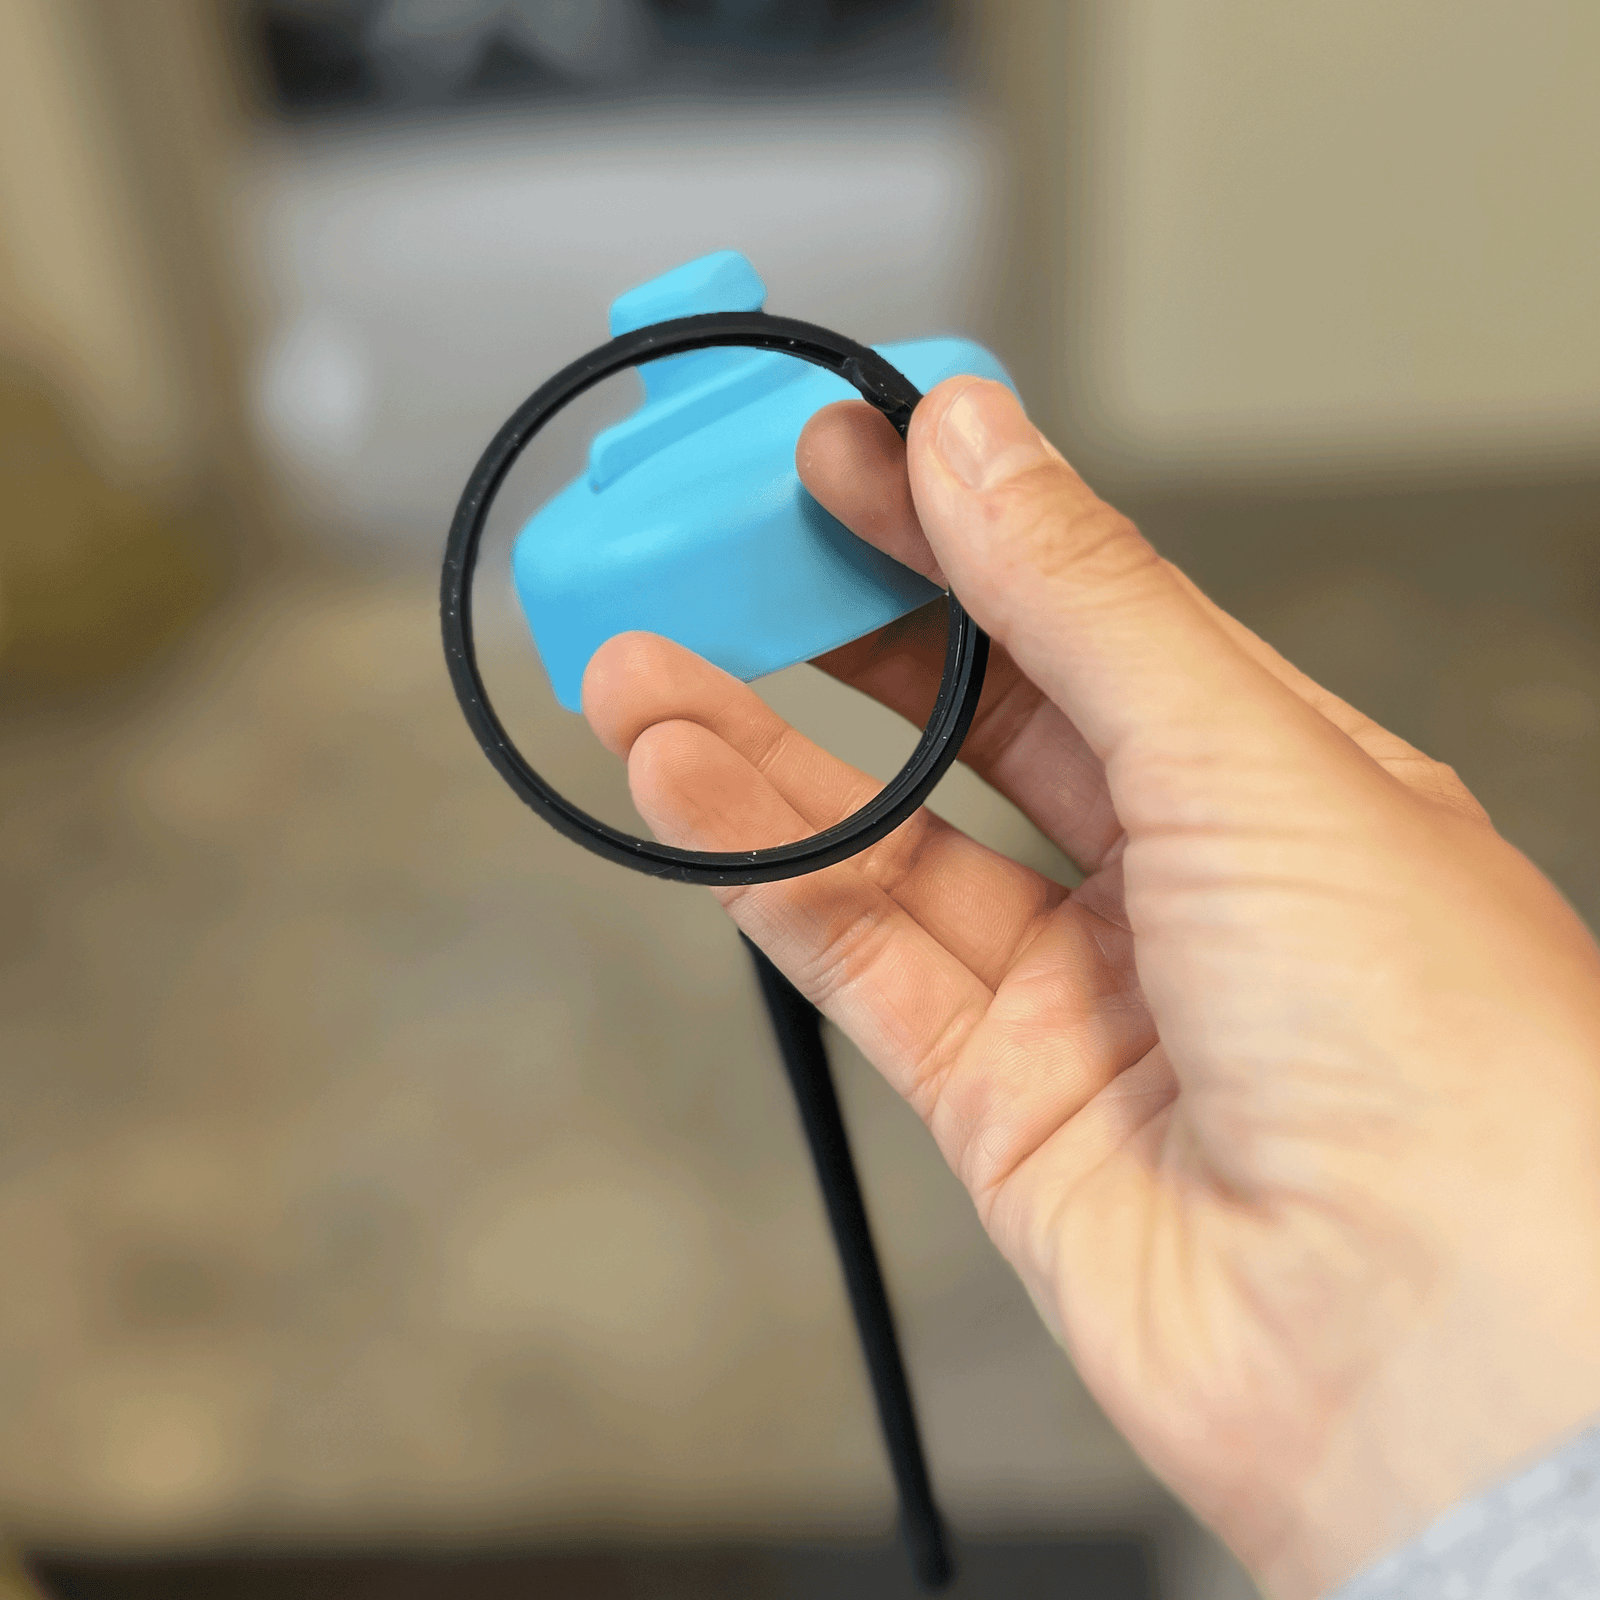
We designed the o-ring to be super easy to clean. (Who likes drinking mold? Definitely not us!) So, we made the venting straw, the nozzle and the o-ring all easily removable and dishwasher safe.
So here is your step-by-step guide on removing and reinstalling your o-ring for easy cleaning!
On insulated bottles - the Bivo Trio and Trio Mini - the o-ring is tucked under the top of the lid, nestled in snugly above the threading. Hidden, but playing an essential role.
The o-ring, or sealing ring, is a silicone circle, responsible for sealing the bottle tight and preventing leaking.
As you twist the lid on tight, the sealing ring is compressed, squeezing out any possible escape of water from the bottle. When properly in place, the sealing ring does its job very well– we made sure of that with a rigorous design and testing process (we shook lots of bottles really hard!).
We designed the o-ring to be super easy to clean. (Who likes drinking mold? Definitely not us!) So, we made the venting straw, the nozzle and the o-ring all easily removable and dishwasher safe.
So here is your step-by-step guide on removing and reinstalling your o-ring for easy cleaning!

This week, we are highlighting a bike shop we visited recently in Pennsylvania, Hush Money Bikes! We feel that they exhibit the fuel more fun attitude that Bivo believes in so adamantly. The co-owner Nathan shares their story!

We couldn’t be more excited about the new, special edition bottle called Prism. Iridescent, colorful, and metallic, this bottle plays with light more than any other we’ve made. To celebrate its launch, we decided to learn more about the tool and object after which this bottle was named: the Prism!

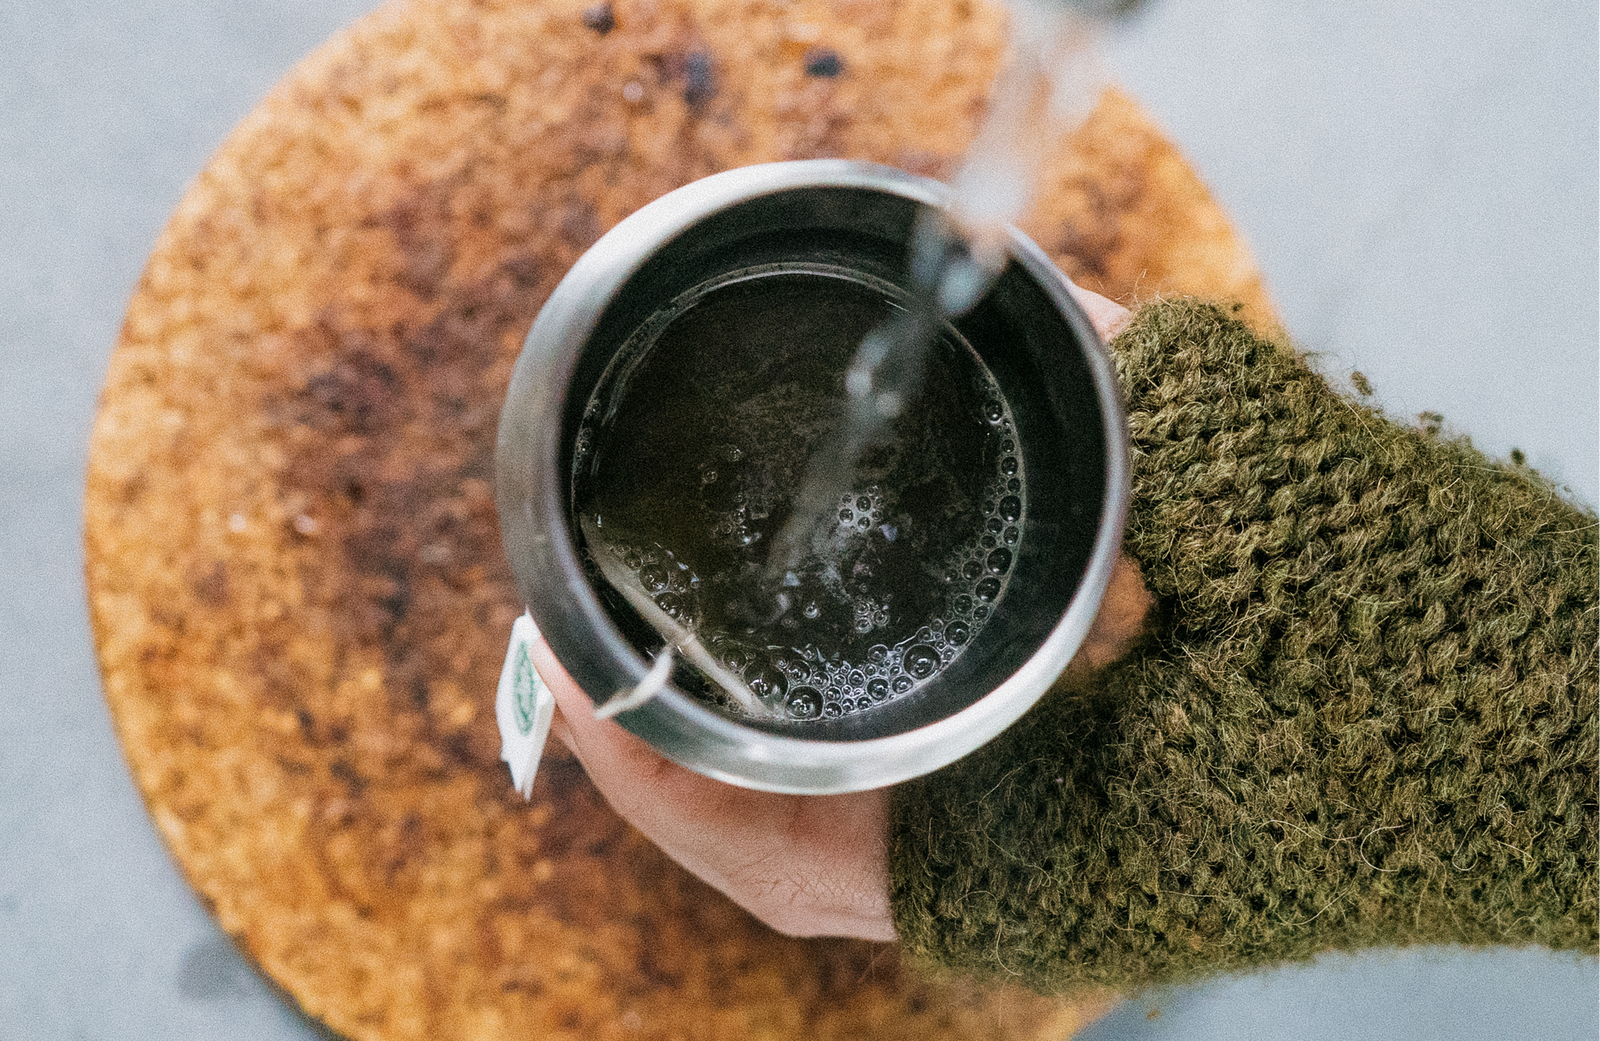
As the temps start to turn chilly, we are getting very excited about staying warm with some warm drinks in our Bivos :) Here's why it's safe to drink warm drinks from a Bivo and what we recommend.